
Last updated October 16, 2026
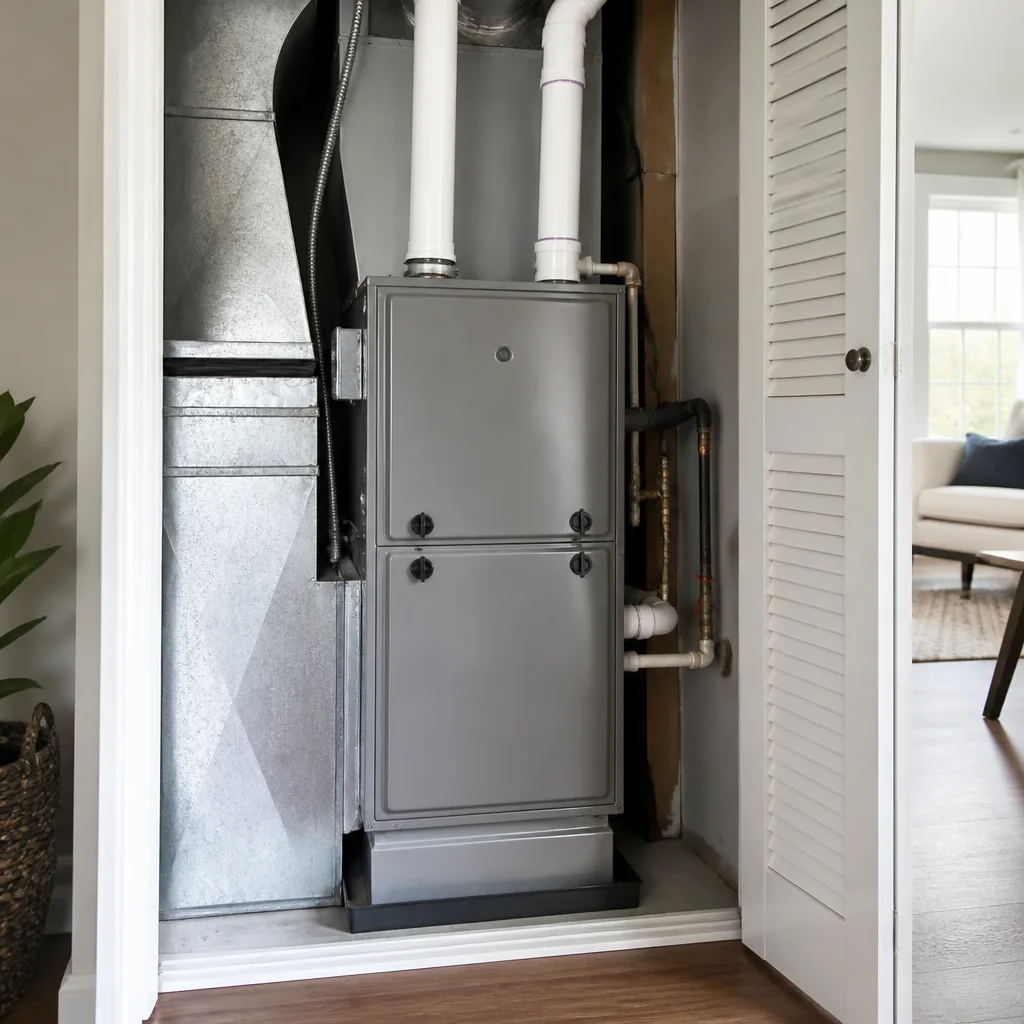 Furnace & heating
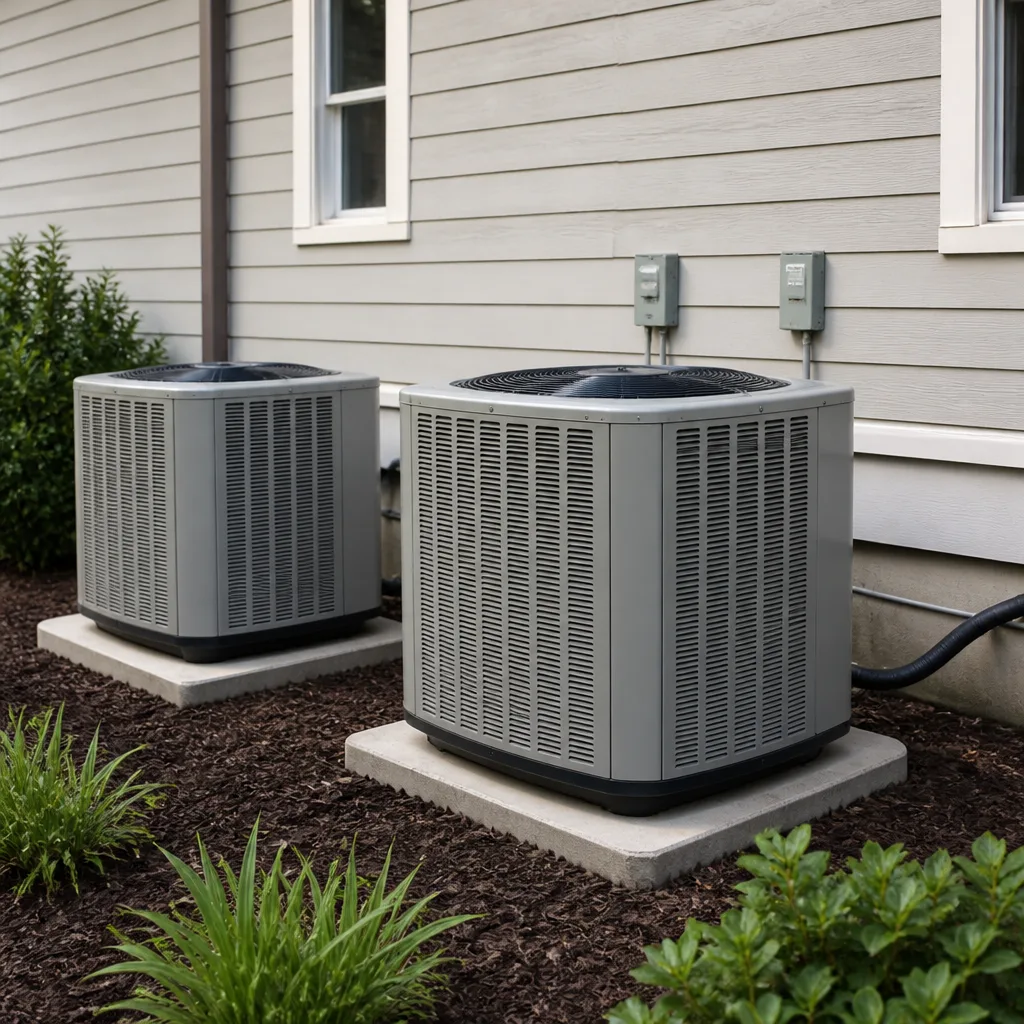 Heat pumps
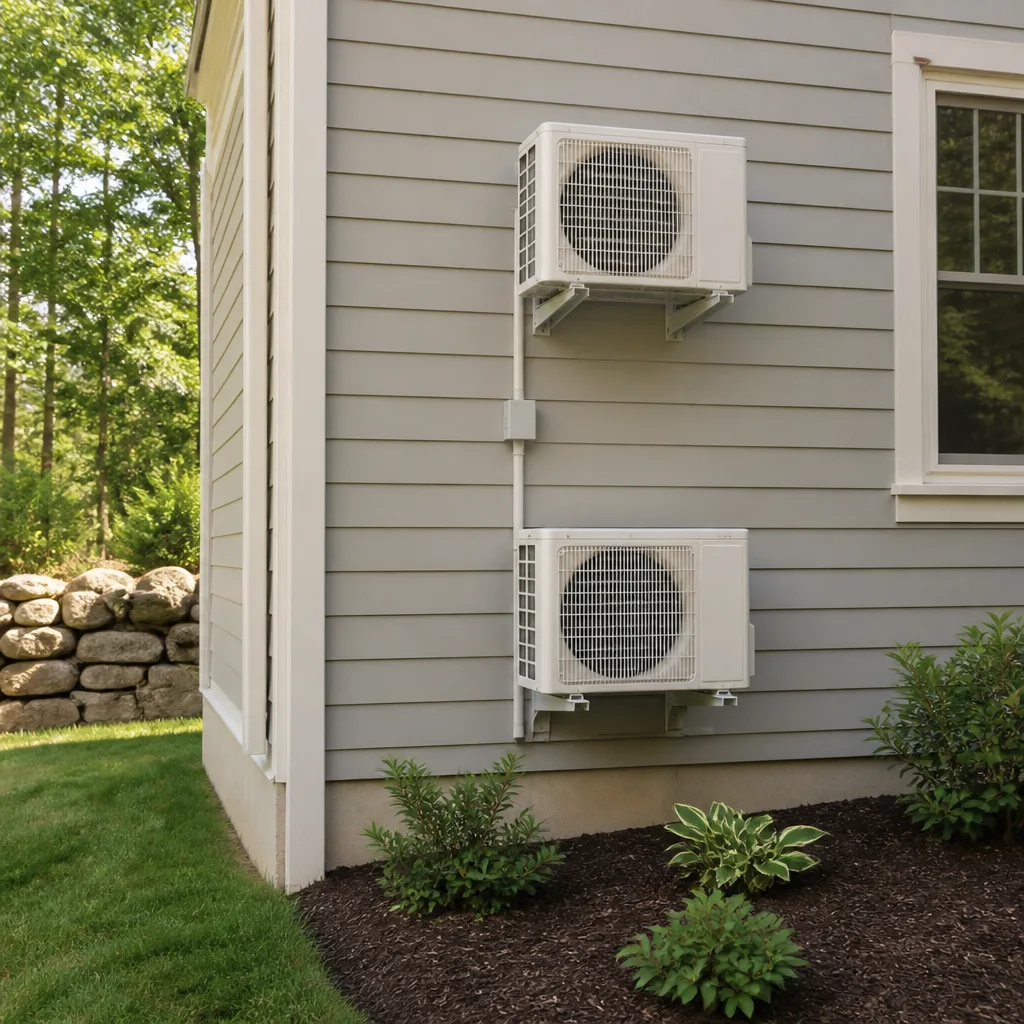 Ductless mini splits
 Goodman
Seasonal tune-up and full diagnostic on your Carrier, Trane, or Goodman system - readings shown to you before any repair is proposed
Diagnosis first, numbers second - you approve the repair price before a single part goes in.
Get your free estimateDIY vs Professional HVAC: The Dallas Homeowner’s Decision Guide
Here’s a number most Dallas homeowners never hear: the average DIY HVAC repair that goes wrong ends up costing 2.3 times more than calling a licensed tech the first time, because the second call isn’t just fixing the original problem. It’s fixing whatever got damaged while fixing the original problem. This guide draws the exact legal line between what Texas allows you to touch and what puts your warranty, your safety, and your wallet at risk. For a deeper look at what professional service costs and why, see our HVAC Cost Breakdown: The Dallas Homeowner’s Reference for 2026. You’ll learn the five tasks you can do this weekend, the three that will void your Carrier or Trane warranty by the fine print itself, and what a capacitor swap really costs in Dallas when you factor in the second trip to the supply house.
Styles & brands we work with
Quick Answer
Texas homeowners can legally replace filters, clean condenser coils, clear condensate drains, and swap thermostats without a license, but any task involving refrigerant, gas lines, or electrical panel work requires an EPA Section 608 certification or a state HVAC license. The smartest split for Dallas homeowners is this: do the filter, the drain line, and the coil cleaning yourself, and hand anything that touches refrigerant or high-voltage capacitors to a licensed pro. In our experience across Dallas, the repair that follows a failed DIY attempt usually costs $200 to $600 more than the original fix would have.
Table of Contents
- The Legal Line: What Texas and the EPA Actually Say
- 5 HVAC Tasks a Dallas Homeowner Can Do This Weekend
- The Warranty Fine Print: What Carrier, Trane, and Lennox Won’t Tell You
- Honest Cost Comparison: The 5 Most Searched DIY HVAC Tasks
- When DIY Costs More: The Second-Call Correction Tax
- Dallas Climate Reality: Why Our Equipment Fails Differently
- The Tool Gap: What You Actually Need vs. What a Tech Shows Up With
- Common Mistakes to Avoid
- When to Call a Professional
- Frequently Asked Questions
- The Bottom Line
The Legal Line: What Texas and the EPA Actually Say
You can legally perform a surprising amount of HVAC maintenance on your own Dallas home. Texas Property Code doesn’t stop you from working on your own equipment, and the state’s HVAC licensing laws under the Texas Occupations Code Chapter 1302 apply to people doing HVAC work for compensation, not to a homeowner working on their own house. So if you want to swap your own filter or hose down your condenser, no state inspector is going to knock on your door.
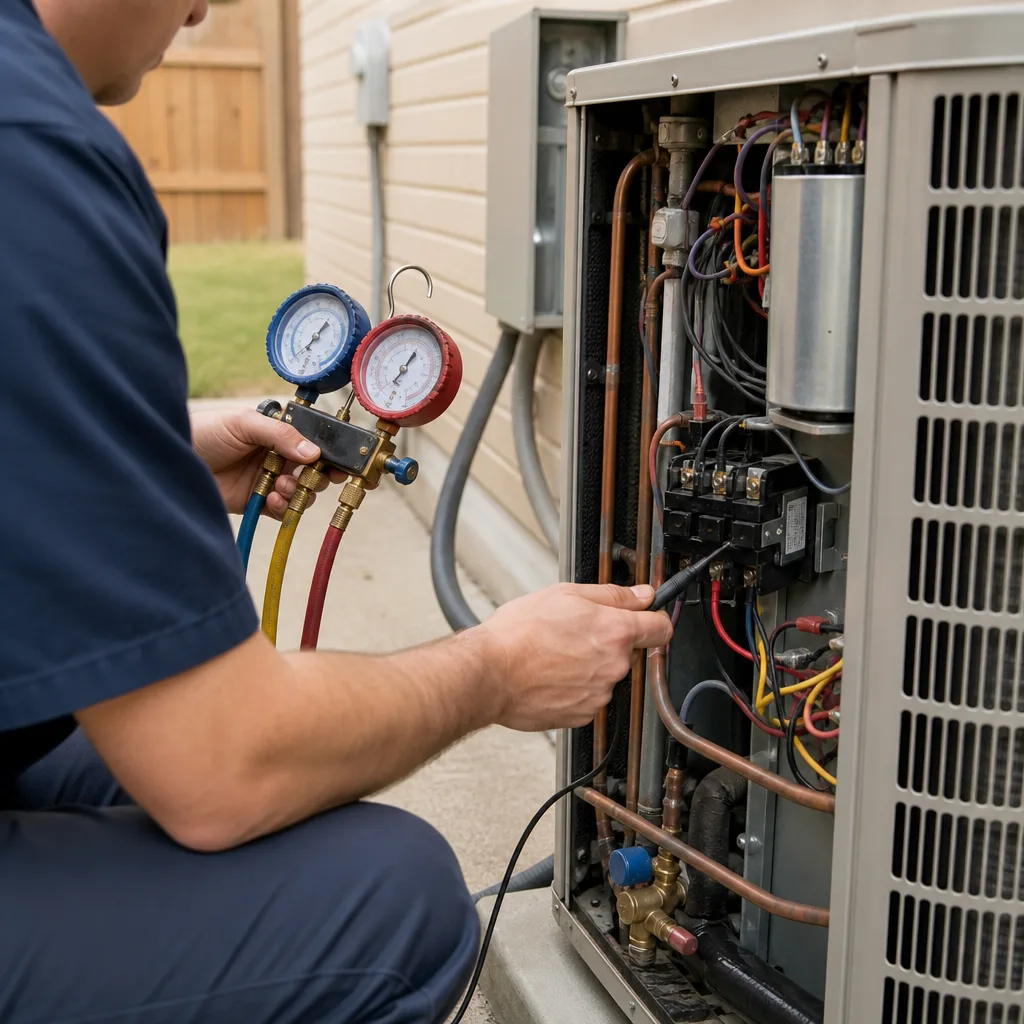
But here’s where the line gets sharp. The moment a task involves adding, removing, or recovering refrigerant, you’re no longer in Texas code territory. You’re in federal territory. The EPA’s Clean Air Act Section 608 rule requires any person who handles refrigerant to hold a Section 608 certification. That’s not a suggestion, and it’s not something Dallas hardware stores mention when they sell you a can of R-410A with a DIY recharge kit. If your system is low on refrigerant and you attach a manifold gauge set and add refrigerant without that certification, you have committed a federal violation with a maximum fine of $44,539 per day per violation. That’s not a typo.
Here’s the Dallas-specific reality: most of our summer service calls that start as “just needs a top-off” end up revealing a leak that requires brazing, pressure testing, and a proper evacuation. That job is legally and practically beyond any unlicensed person. The same applies to any task involving natural gas lines to a furnace, which falls under both local Dallas plumbing code and the city’s mechanical permit requirements for gas pipe modifications. For specifics on what’s required, read our guide to HVAC Permits, Codes & Inspections in TX: What You Need to Know.
Practical line for Dallas homeowners:
- Legal without a license: filter replacement, thermostat swap, condenser coil cleaning, condensate drain clearing, capacitor inspection (visual), breaker reset, duct register adjustment.
- Legal only with EPA Section 608 certification: adding refrigerant, recovering refrigerant, opening any sealed refrigeration line, replacing a TXV, brazing copper refrigerant lines.
- Legal only with a state HVAC license and often a Dallas permit: furnace heat exchanger replacement, gas valve work, installing new duct runs, new system installation.
If you want to dig further into the repair side of what we see across Dallas neighborhoods, our AC Repair in Dallas page breaks down the most common failures by symptom. But the short version is this: the legal line is drawn at the refrigerant circuit and the gas line. Everything else is fair game for a careful homeowner.
5 HVAC Tasks a Dallas Homeowner Can Do This Weekend
These five jobs are legal, low-risk, and genuinely worth doing yourself. We’re not going to tell you to touch anything that could hurt you or void a warranty. These are the tasks we’d hand to our own family members.
1. Replace the air filter (every 30 to 60 days in Dallas)
Dallas air carries more particulate than most of the country thinks. Between the pollen, the construction dust from builders in Frisco and McKinney, and the occasional dust blowing off West Texas, a filter that would last 90 days in Seattle clogs in about 45 here. Check it monthly during the summer and after any windy stretch. A clogged filter is the single most common cause of frozen evaporator coils we see in Dallas, and it’s the one problem that’s 100 percent preventable.
- Turn the system off at the thermostat.
- Locate the filter slot (usually in the return grille or at the air handler).
- Note the old filter’s size and airflow arrow direction.
- Slide the new filter in with the arrow pointing toward the unit.
- Set a phone reminder for 30 days.
Cost: $8 to $22 for a quality MERV 8 to 11 filter. Time: four minutes.
2. Clear the condensate drain line (every 60 to 90 days)
Dallas humidity in July and August means your AC is pulling gallons of water out of the air daily. That water travels through a PVC drain line that slowly fills with algae and sludge. When it clogs, water backs up into the drain pan, and then into your ceiling or closet floor. We’ve seen ceilings collapse in Lake Highlands and White Rock area homes from a $10 clog that would have taken 20 minutes to prevent.
- Find the drain line access point (a T-shaped PVC cap near the indoor unit or a cleanout outside by the condenser).
- Pour one cup of distilled white vinegar down the line.
- Let it sit for 30 minutes.
- Flush with a quart of warm water.
- If water flows freely outside, you’re done.
Do not use bleach. Bleach corrodes the PVC over time and can crack the line. Vinegar is gentler and effective.
3. Wash the condenser coils (twice a year)
Your outdoor unit sits in Dallas weather 365 days a year. Cottonwood, grass clippings, dust, and general grime coat the coil and choke off the heat transfer your system depends on. A dirty condenser coil raises your electric bill by 10 to 20 percent during a Dallas summer, according to Department of Energy figures, and it shortens compressor life. Cleaning it is straightforward.
- Kill power to the outdoor unit at the disconnect box on the wall beside it.
- Remove any leaves or debris from around the unit.
- Spray the coil from the inside out with a garden hose at moderate pressure. Never a pressure washer, which bends the coil fins.
- Straighten bent fins with a fin comb if you can see them clearly smashed.
- Wait 15 minutes, restore power, and run the system.
Cost: $0 if you own a hose. Time: 40 minutes. The only way to get hurt on this one is to skip step one or point the hose at the electrical panel.
4. Replace the thermostat with a modern programmable or smart unit (once, carefully)
A thermostat swap is one of the safest electrical-side DIY jobs, but only if you do it correctly. Most Dallas homes have low-voltage thermostat wire, which means you’re working with 24 volts, not 120. That’s comparable to a doorbell circuit. The risk isn’t electrocution. It’s miswiring the unit so your AC runs when the heat calls or your compressor short-cycles until it dies.
- Photograph the existing wiring before removing any wires.
- Label each wire with the letter on its terminal (R, C, G, Y, W, etc.).
- Remove the old thermostat base.
- Mount the new base and reconnect wires to matching terminals.
- If you don’t have a C wire, install the power extender the thermostat manufacturer included, or call a pro. A smart thermostat without a C wire can cause your compressor to cycle erratically.
Cost: $50 to $250 for the thermostat. Time: one hour. If your furnace starts clicking oddly after you’re done, kill the power and call us. That’s a $150 to $250 fix now instead of a $700 board replacement later.
5. Eyeball the capacitor (inspection only, not replacement)
Here’s the most honest entry on this list. A capacitor is a $15 to $45 part. YouTube makes the swap look easy. And in a few cases, it is easy. But capacitors store enough charge to stop your heart even when the power is off, and a mis-sized replacement can damage your compressor motor. Our guidance on this one is specific: you can inspect the capacitor for visible bulging or leakage, which tells you it’s failing. You can take a photo and send it to a tech for a quote. You should not replace it yourself unless you have a proper discharge tool, a multimeter, and experience using both. If this list includes the words “discharge tool” and that’s a new phrase for you, the job is worth the $150 to $300 a Dallas tech will charge for the part and labor. It’s the cheapest insurance you’ll buy all year.
The Warranty Fine Print: What Carrier, Trane, and Lennox Won’t Tell You
Every major manufacturer writes its warranty with the same assumption: the equipment gets professional installation and professional service. That assumption lives in the fine print, and the fine print is enforceable. We work on Carrier, Trane, Lennox, Goodman, Rheem, York, Daikin, Bryant, and American Standard systems every week, and the warranty language is consistent across all nine brands.
Here’s the clause that bites Dallas homeowners. Carrier’s warranty documents require that the unit be “installed and serviced by a licensed HVAC contractor” and that “routine maintenance be performed according to the instructions in the owner’s manual.” Trane’s language is nearly identical. Lennox adds that any damage caused by “improper installation, application, service, or maintenance” voids coverage on the affected part and often on related parts.
What that means in practice:
- If you replace a compressor yourself and it fails two years later due to improper evacuation, Carrier will deny the replacement claim. That’s a $1,500 to $2,500 part gone.
- If you use stop-leak refrigerant additives from a hardware store to patch a small leak, Trane’s warranty is void for the entire refrigerant circuit. Those additives clog metering devices and compressors.
- If you damage a coil while “cleaning” it with the wrong chemical, Lennox considers that improper maintenance and denies the claim. We’ve seen this exact denial letter from homeowners in the Park Cities who used coil cleaner concentrate without diluting it.
- Most warranties also require proof of professional maintenance at reasonable intervals. If you can’t produce invoices showing annual service, and your compressor fails at year six of a ten-year parts warranty, the manufacturer can require that proof before paying the claim.
The smart move is keeping a folder. Put your filter receipts, your service invoices, and the date you cleaned the condenser coil in one place. If you do your own filter and coil work, that’s fine. The manufacturer cares that a licensed pro handles the sealed system work. If you’re weighing a repair against a new system altogether, our Heat Pump Installation in Dallas page covers what a replacement actually involves and what it costs in this market.
Honest Cost Comparison: The 5 Most Searched DIY HVAC Tasks
Here’s the math nobody puts in the YouTube comments. These are real Dallas numbers based on what we charge and what supply houses charge a homeowner walking in off the street.
| Task | DIY Cost (parts only) | Pro Cost (parts + labor) | What DIY Doesn’t Include |
|---|---|---|---|
| Filter replacement | $8 – $22 | $12 – $25 (we change it during a tune-up) | Nothing. This is pure savings. |
| Condensate drain clearing | $3 (vinegar) | $89 – $149 (flushing + safety switch test) | Testing the float switch that prevents ceiling damage. |
| Condenser coil cleaning | $0 – $30 (hose + fin comb) | $79 – $129 (during maintenance visit) | Inspecting the capacitor, contactor, and refrigerant pressures while the tech is at the unit. |
| Thermostat replacement | $50 – $250 (the thermostat) | $150 – $300 (thermostat + install + wiring verification) | Checking for a C wire, verifying the heat and cool cycles, and calibrating the new thermostat’s temperature sensor. |
| Capacitor replacement | $15 – $45 (the part) | $150 – $300 (part + labor + test) | Discharging the capacitor safely, verifying correct microfarad rating, testing the contactor and wiring while the panel is open. |
Notice the pattern. The first three tasks are genuine DIY wins. The thermostat is a wash depending on your comfort level. The capacitor is where the math flips. The part looks cheap until you factor in the multimeter you don’t own, the discharge tool you should own, the electrical safety knowledge you either have or you don’t, and the $800 compressor motor you damage if you get the microfarad rating wrong. For the capacitor, the professional price includes the liability and the guarantee. The DIY price includes the risk that your mistake costs more than the job.
When DIY Costs More: The Second-Call Correction Tax
Every HVAC tech in Dallas has a version of this story. Ours happened in Richardson a few summers back. A homeowner diagnosed a failed capacitor on his condenser via a YouTube video, bought a replacement online, and installed it himself. The unit ran for three days and stopped. He called us. The problem wasn’t the capacitor. It was a contactor with a pitted contact that had been arcing and drawing excess current, which is what killed the original capacitor in the first place. He paid $45 for the wrong fix, then paid us $289 to replace the contactor, the capacitor again with the correct spec, and test the whole circuit. The original repair would have been $220.
That’s the second-call correction tax, and it shows up in Dallas service calls in a few predictable ways:
- Misdiagnosis: A homeowner replaces the thermostat because the AC won’t turn on, but the real problem is a clogged drain tripping the safety switch. New thermostat, same problem, now a $120 service call to fix the actual issue.
- Wrong part: The capacitor story above. Online sellers list “universal” capacitors that are not universal. Getting the microfarad rating wrong by a few percentage points can damage the compressor or fan motor permanently.
- Incomplete repair: Homeowner clears the drain line but doesn’t test the float switch. The switch is corroded from years of Dallas humidity and fails silently. Two weeks later the line clogs again, the switch doesn’t trip, and the ceiling gets wet. The $3 vinegar fix just turned into a $900 drywall job.
- Tool purchase: You buy a manifold gauge set for $80 to check your refrigerant, use it once, and discover you can’t legally add refrigerant anyway. Now you own a tool you can’t use and still have to pay a tech.
- Voided warranty: The worst version. The repair “works” for a year, the compressor fails, and the manufacturer denies the $2,000 claim because the system was opened without a Section 608 certification. The $45 savings cost $2,000.
If your system is already underperforming and you’re trying to decide between throwing money at it versus replacing it, our Furnace Repair in Dallas page has the same kind of honest math applied to heating-side decisions. The pattern holds: cheap fixes work until they don’t, and the expensive version of a mistake is always the one you didn’t see coming.
Dallas Climate Reality: Why Our Equipment Fails Differently
An HVAC system in Dallas doesn’t fail the way one in Chicago or Phoenix fails. This matters because the DIY advice you find online is usually written by someone in a different climate, and the advice doesn’t translate.
Dallas summers run from late May through September, and July and August routinely deliver 20 to 30 consecutive days above 100 degrees. That sustained load means your compressor runs longer and harder than equipment in most of the country. A system that’s slightly low on charge will run 12 to 14 hours a day trying to hit a 74-degree setpoint, and that long runtime is what kills compressors. In a milder climate, that same system would short-cycle and survive for years. Here, it dies in one summer.
Dallas also swings hard between wet and dry. Spring brings heavy humidity that fills drain pans faster than most systems can push water. Fall and winter bring dry air and big temperature swings, which is why Dallas heat pumps and furnaces both get real workouts in the same year. Your system isn’t just an air conditioner. It’s the machine handling two completely different jobs in a climate that demands both.
Three Dallas-specific failure patterns we see constantly:
- June capacitor failures. The first sustained 95-degree week of June is when capacitors across North Texas die. They’re electronic components, and heat is their enemy. If you hear a humming outdoor unit that won’t start during the first heat wave, it’s probably the capacitor.
- August drain line overflows. When the humidity sits above 70 percent for weeks, your system is extracting so much water that any partial clog becomes a full blockage fast. Vinegar runs every 60 days prevent this.
- January heat pump defrost issues. Dallas rarely gets truly cold, but when it dips below 35 degrees, heat pumps enter defrost cycles more often. If the defrost board or sensors have aged, that’s when they show it. It’s also when a homeowner notices the outdoor unit appears to be “smoking” (it’s steam from defrost) and calls in a false alarm. If you’re seeing steam, it’s normal. If you’re seeing ice that never melts, that’s a service call.
The DIY implications are straightforward: do the maintenance that combats these patterns (filters in pollen season, vinegar runs in humidity season, coil cleanings before and after summer), and let a pro handle the electrical and refrigerant failures that heat stress causes. If you’re in the market for a system better matched to this climate’s humidity, see what Heat Pump Installation in Dallas actually involves before you commit to a decision.
The Tool Gap: What You Actually Need vs. What a Tech Shows Up With
We respect homeowners who want to do their own work. The honest part we owe you is this: the tool gap is real, and it’s bigger than most YouTube tutorials admit. A professional HVAC tech rolls up to a Dallas home with roughly $8,000 to $15,000 of tools, meters, and specialized equipment. Here’s what that actually translates to on the jobs you might attempt.
For the five DIY tasks above, you need almost nothing: a screwdriver, a garden hose, a fin comb, and a phone for photos. That’s the whole kit. Total cost under $50.
For anything involving diagnostics or repair, the gap expands fast:
- Multimeter: A decent one is $60 to $120. A tech’s is $300 and tells you microfarads, resistance, and continuity. The cheap one tells you volts and maybe ohms, but without knowing how to interpret the readings, you’re guessing.
- Manifold gauge set: $80 to $200 for a homeowner set. It measures system pressures but means nothing without a temperature probe and a superheat/subcooling chart. And you can’t legally use it on a sealed system anyway without Section 608 certification.
- Refrigerant recovery machine: $600 to $1,500. Mandatory for any repair that requires opening the system. Not optional, not rentable from Home Depot.
- Vacuum pump: $150 to $500. Required to evacuate a system after opening it. Skipping this step leaves moisture in the lines, which creates acid, which kills the compressor. This is the single most common mistake DIY refrigerant attempts make, and it destroys systems silently over 6 to 18 months.
- Nitrogen regulator and tank: $100 to $200. Needed for pressure testing and purging brazed lines.
- Oxy-acetylene torch: $300 to $800. Needed for brazing copper lines, which is how every Dallas tech repairs a refrigerant leak. YouTube makes it look like soldering pipes. It’s not. It’s brazing at 1,200 degrees with a nitrogen purge flowing, and the difference matters.
The tool gap tells you exactly where the line is. Up to the coil cleaning and drain clearing, your household toolkit is sufficient. Past that, the professional isn’t charging you for labor you could do yourself. The professional is charging you for the $12,000 in tools plus the 2,000 hours of experience it takes to know what the gauge readings mean. That’s not a markup. That’s the actual cost of doing the job correctly.
Common Mistakes to Avoid
- Using a pressure washer on the condenser coil. We see this every spring in Dallas. A garden hose at moderate pressure is fine. A pressure washer folds the fins flat, reduces airflow by 30 percent or more, and turns a clean coil into a heat-trapping blanket. The fix is a fin comb and an hour of tedious work, or a $300 coil replacement.
- Pouring bleach down the condensate line. Bleach is corrosive to PVC and to the rubber gaskets in your system. It clears the algae, then slowly eats the pipe. Vinegar works better and doesn’t damage anything.
- Buying a “universal” capacitor online. Capacitors are rated in microfarads, and the rating matters to within a few percent. A universal capacitor that’s 5 percent off will make your compressor run hot and fail early. Buy the exact part number or let a pro source it.
- Adding refrigerant from a can without finding the leak. Low refrigerant means there’s a leak. Adding refrigerant without fixing the leak is like putting air in a flat tire every morning. Six weeks later you’re low again, and every pound of refrigerant you added has leaked into the atmosphere. Fix the leak first, then charge the system properly.
- Replacing a thermostat without photographing the original wiring. Roughly 40 percent of the wiring messes we untangle in Dallas started with a thermostat swap that went wrong. Take a clear photo before you touch a single wire. That photo is your undo button.
- Ignoring a humming outdoor unit until it stops humming. A condenser that hums but won’t start is usually a failing capacitor. The capacitor is $20. Running the system in that state for weeks will burn out the compressor, which is $2,000. The moment you hear the hum, shut it down and make a decision.
- Skipping annual professional maintenance because “nothing’s broken.” Dallas heat hides small problems until they become large ones. A $129 maintenance visit catches the weak capacitor, the slightly low charge, the corroded contactor, the loose electrical connection before any of them become a $600 emergency call in August. Preventive maintenance is the cheapest repair there is.
When to Call a Professional
Call a professional the moment the problem touches refrigerant, gas, or high-voltage electricity. If your system is low on charge, blowing warm air on a 100-degree day, making a burning smell, tripping breakers repeatedly, or icing up on the refrigerant lines instead of the coil, stop troubleshooting and pick up the phone. These are not “watch one more YouTube video” situations. They’re situations where the wrong move turns a $200 repair into a $2,000 replacement.
Also call a professional if you’ve attempted a DIY fix and the system still isn’t working, or if it’s working but making a new noise it wasn’t making before. That new noise is information, and a tech can read it. Dalton Heating & Air Dallas offers free estimates in Dallas. Call (254) 280-5320 and you’ll reach a real person who can talk through what you’re seeing and give you an honest read on whether it’s worth a service call.
Frequently Asked Questions
No. Adding refrigerant without an EPA Section 608 certification is a federal violation regardless of state law, with penalties up to $44,539 per day per violation. Even if you own the equipment and the refrigerant, you cannot legally open a sealed system and add charge without the certification. Low refrigerant also means there’s a leak, and adding charge without fixing the leak just sets up the same problem in six weeks.
Replacing your air filter on a 30-day schedule, especially during Dallas’s spring pollen season and summer dust season. A $15 filter protects a $5,000 to $10,000 system from the single most common cause of premature failure: restricted airflow. It takes four minutes and has zero risk. No other DIY task comes close on return.
Not if you do it correctly with water and a garden hose. What voids the warranty is damage caused by improper cleaning, which typically means using the wrong chemical, a pressure washer, or acid-based coil cleaner that eats the aluminum fins. Manufacturers draw the line at sealed system work, not at basic outdoor maintenance. Photograph the unit before and after if you want documentation.
Most Dallas HVAC companies charge $150 to $300 for a capacitor replacement, including the part, labor, and circuit testing. The part itself runs $15 to $45, but the professional price includes discharging the old capacitor safely, verifying the correct microfarad spec for your specific motor, testing the contactor and wiring while the panel is open, and a written guarantee that the repair will hold. Call us at (254) 280-5320 for an exact quote on your system.
For a simple swap where the wiring matches and you have a clear photo of the original connections, yes, it’s a reasonable DIY project on a low-voltage circuit. For a smart thermostat in an older Dallas home without a C wire, it’s worth having a pro handle the wiring because a miswired thermostat can cause your compressor to short-cycle and fail prematurely. The $150 install fee is cheaper than the $800 board replacement that follows a bad guess.
Homeowners who open the refrigerant circuit without a vacuum pump. They buy a manifold gauge set, remove a Schrader valve core, let air and moisture into the lines, then button it back up without a proper evacuation. The moisture combines with refrigerant oil to create acid, which eats the compressor from the inside over 6 to 18 months. The system appears to work at first, then the compressor dies. The repair bill at that point is $2,000 or a full replacement at $8,000 to $14,000.
The Bottom Line
Dallas homeowners can do more than the internet gives them credit for, and less than the most confident YouTube tutorials suggest. The line is simple: filters, drains, coils, and thermostats are fair DIY ground. Refrigerant, gas, and high-voltage are professional territory, not because the industry wants to gatekeep, but because the law, the warranty, the tool cost, and the risk of expensive mistakes all point the same direction. Do the four tasks that save you real money without downside, let a licensed pro handle everything past the sealed system line, and keep records of every professional service visit so your warranty stays enforceable. Twenty years from now, your compressor won’t care how much you saved on a capacitor. It will care whether the job got done right. Written by Marco Benitez, Owner at Dalton Heating & Air Dallas, serving Dallas since 2003.
Written by Marco Benitez, Owner at Dalton Heating & Air Dallas, serving Dallas since 2003. Looking for more guides & resources?
See the difference
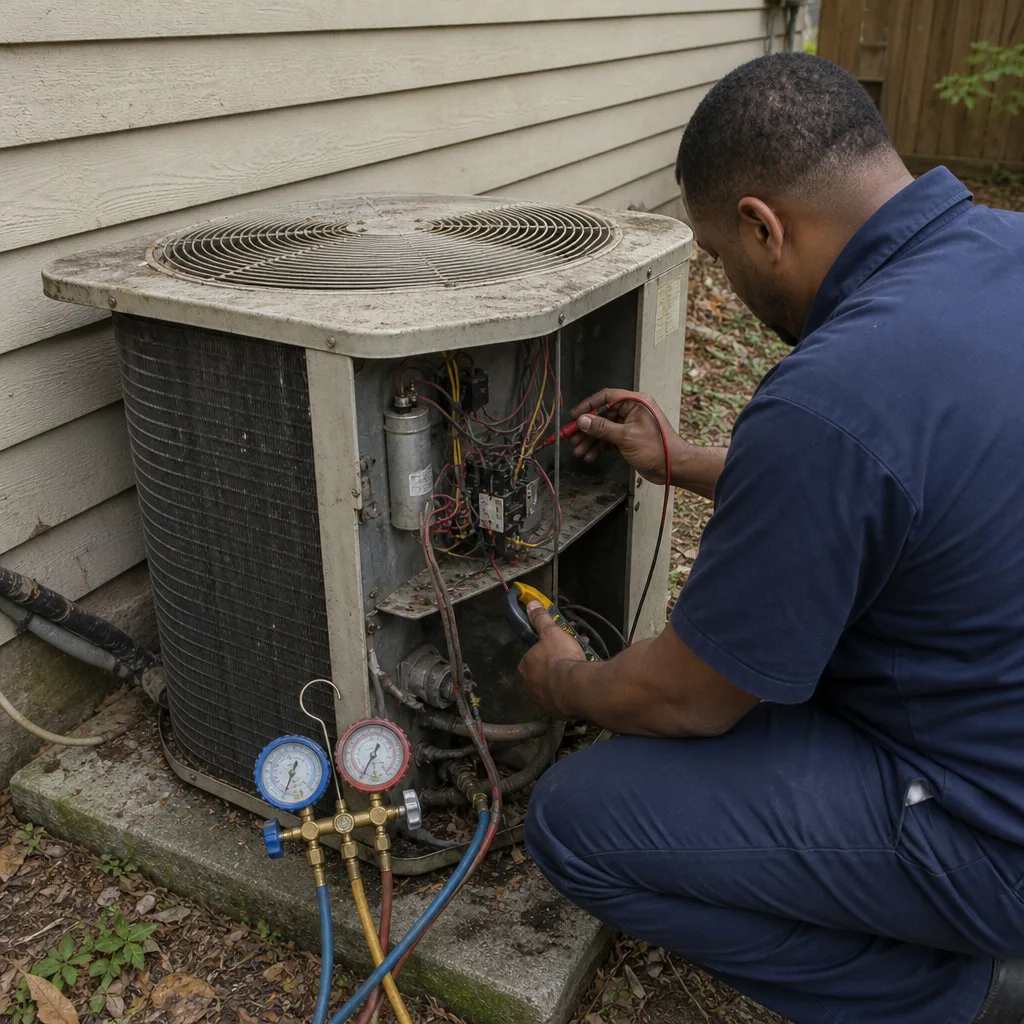 Before
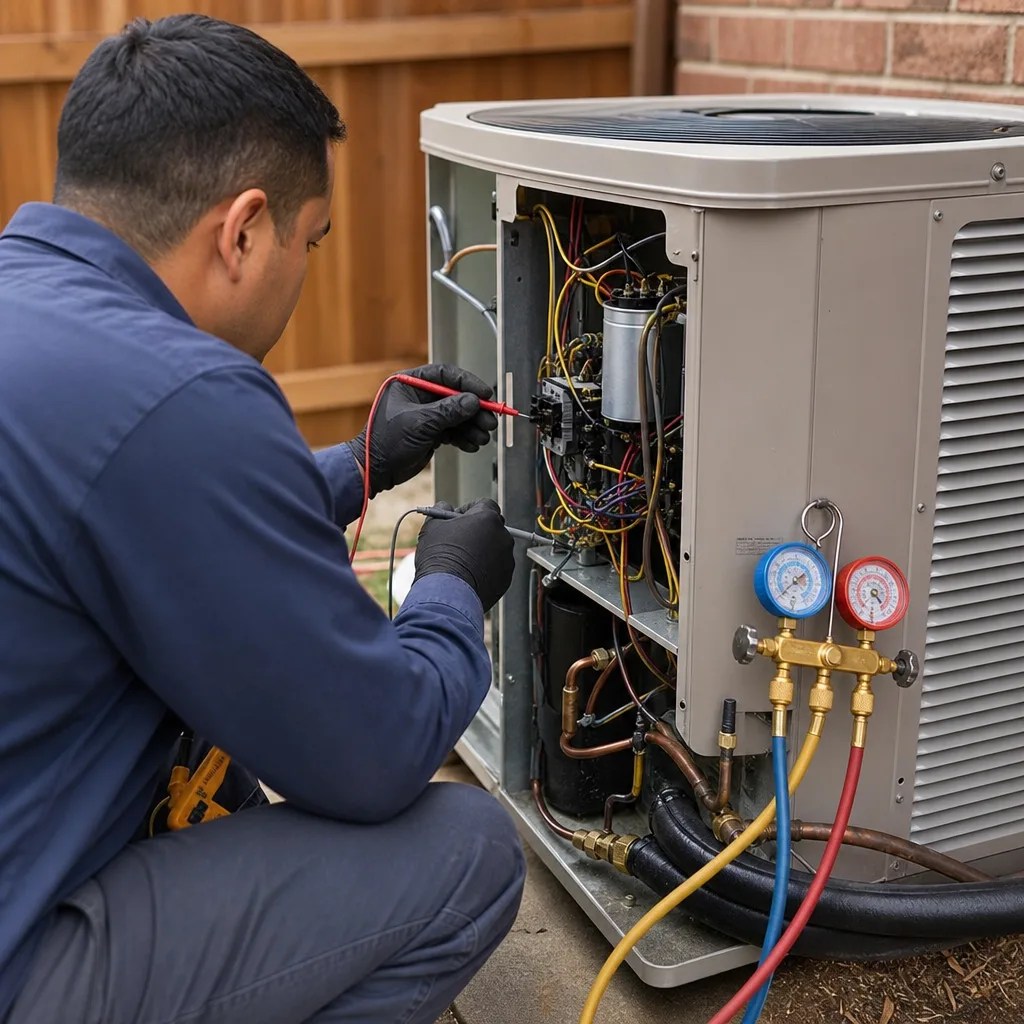 After
After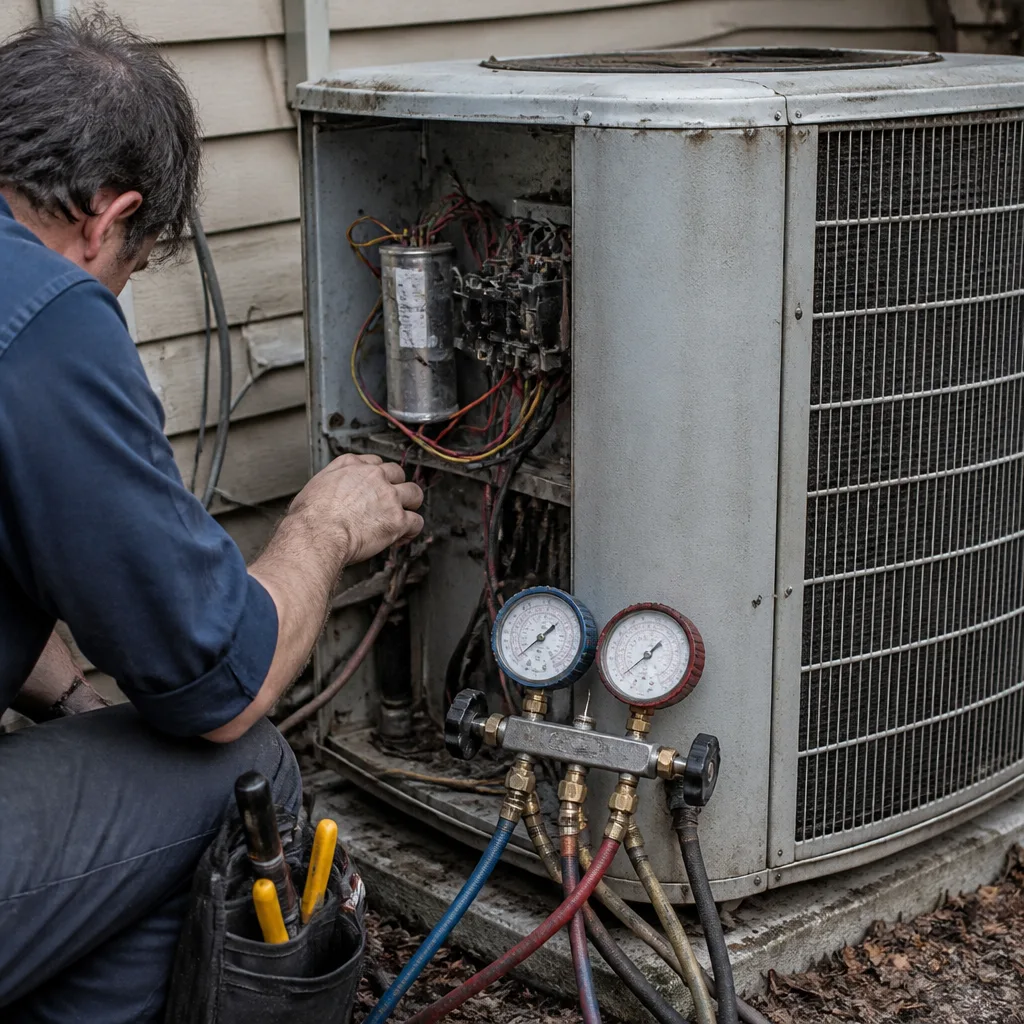 Before
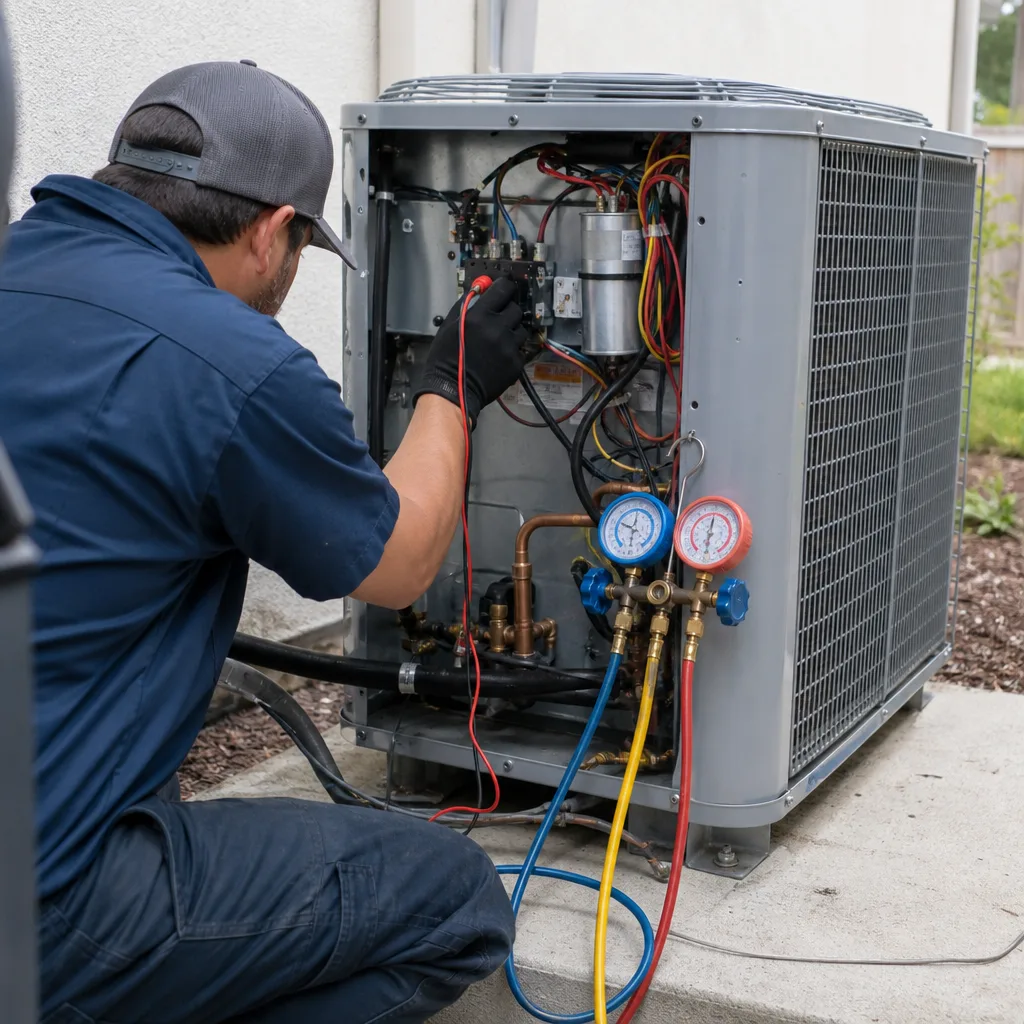 After
After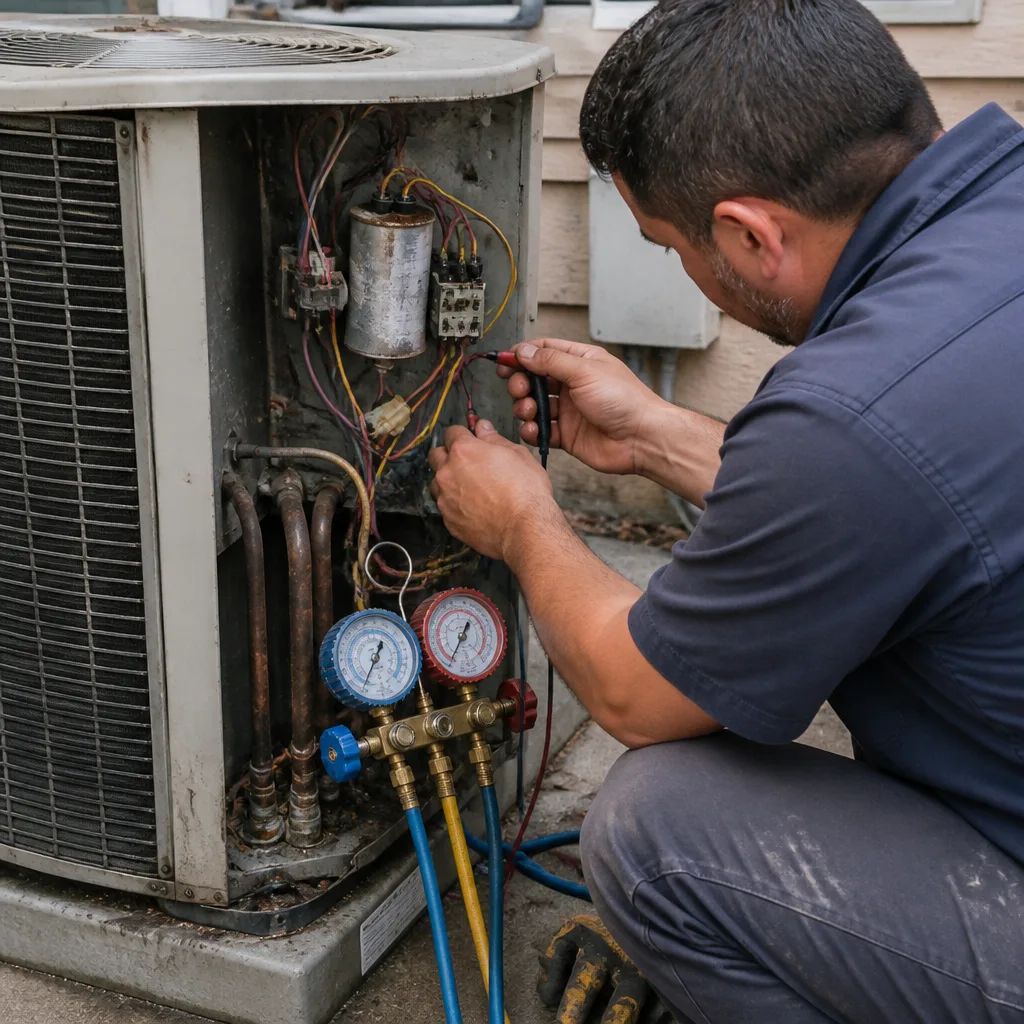 Before
 After
After